|
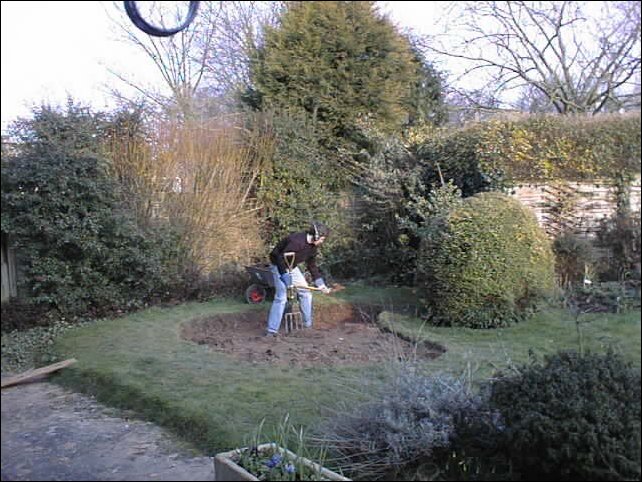
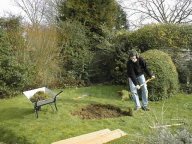
The pond was initially marked out using a hose and then sand which is difficult to see in this photo but it is there! I removed the turf around the edge to make the outline clear and then Chris started digging. Here he has started to remove the turf.
|
|
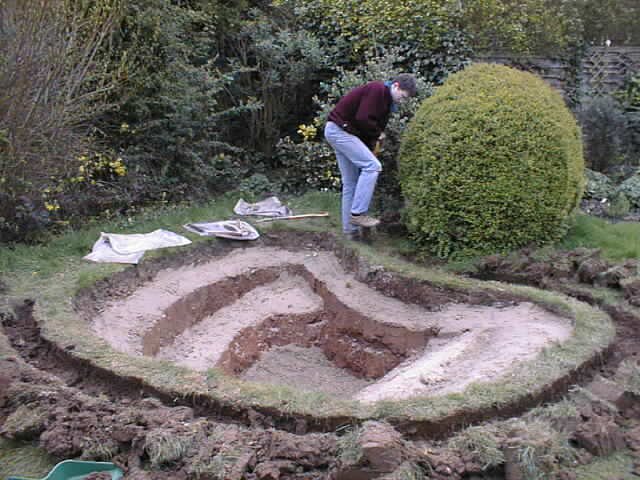
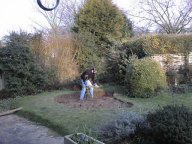
Because the area was uneven ground a layer of soil was dug out to until the area was even. Then the level was dropped to create a shelf on which to put the rocks that were to cover the liner.
|

|
Next a marginals shelf was dug.This turned out to be too deep in the end but it was difficult to work out where the water would come to on the uneven ground. Also if we did it again I would make it slope backwards slightly because after the underlay and liner were put in it ended up sloping forwards slightly which does not make for stable marginal pots. Then a final 3 foot deep layer was excavated and a layer of sand put on all of the flat surfaces as there was no way of getting it to stick to the slopes. Finally a ditch was dug all around the edge to bury the liner in.
|
|
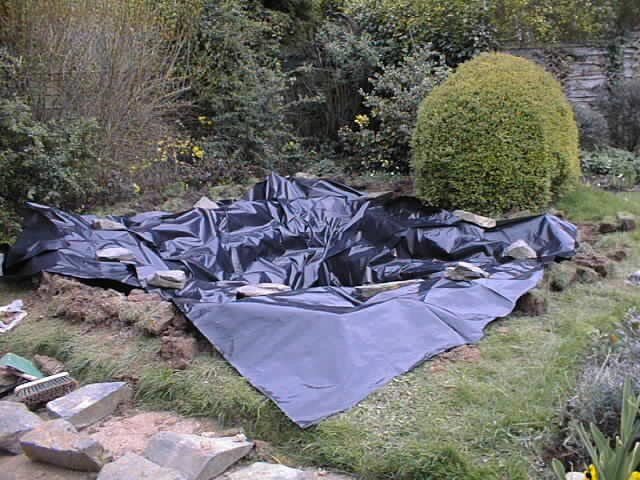
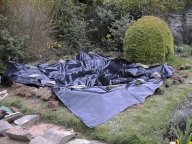
The underlay that I bought was this strange black plastic stuff. I put it in, in two pieces so that there was a double layer in the bottom.
|
|
We filled the pond on the 17th April.
The liner was a type of heavy duty plastic called Polyex that I bought from Bradshaws Direct. It wasn't very flexible and needed to be folded in the corners. It is however very tough and a good bit cheaper than butyl, comes with a 35 year guarantee and matches the soil colour so that it shows a lot less . After I had filled the pond I realised that I needed a shelf for the fountain and so had to wade in to build one!
|

|
The back edge of the pond came quite a way higher than the water so we cut down the soil a bit to give us less liner to cover.
|
|
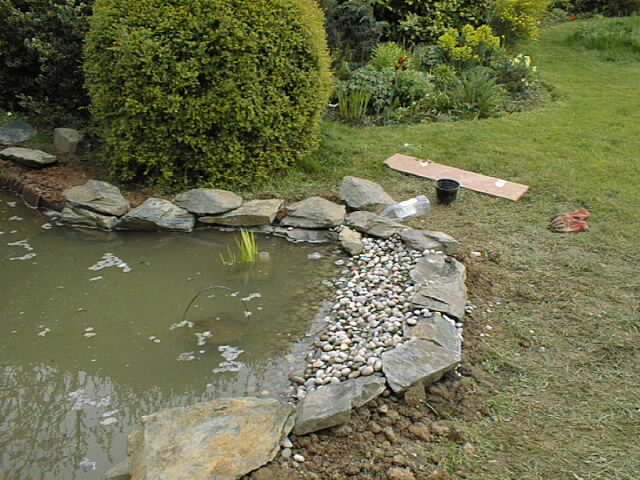
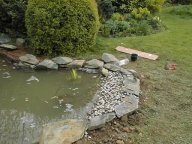
Here I started constructing the walls and the beach at the front of the pond. The walls were built by putting a flatish rock on top of an additional piece of liner and sand on the shelf and then putting a larger rock on the edge.
|
|
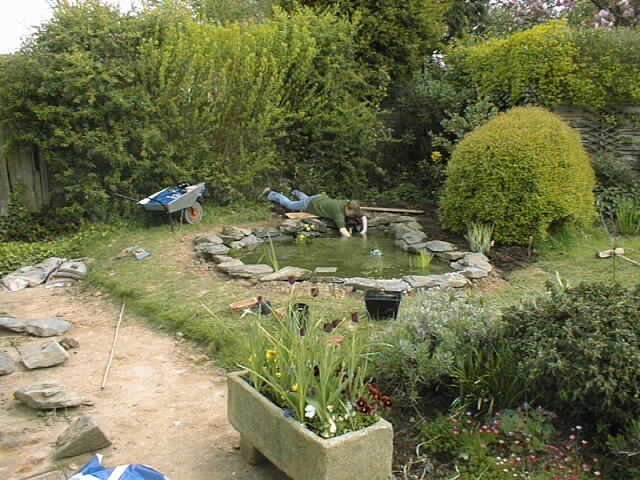
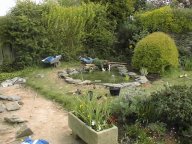
Here I am putting plants in the pond. Notice that we started to back fill soil at the back of the pond up to the top of the stones. This is going to be done all around. Stepping stones will be put around the pond for access and this year it is being mostly planted up with hardy annuals to keep down the cost of planting.
|
|
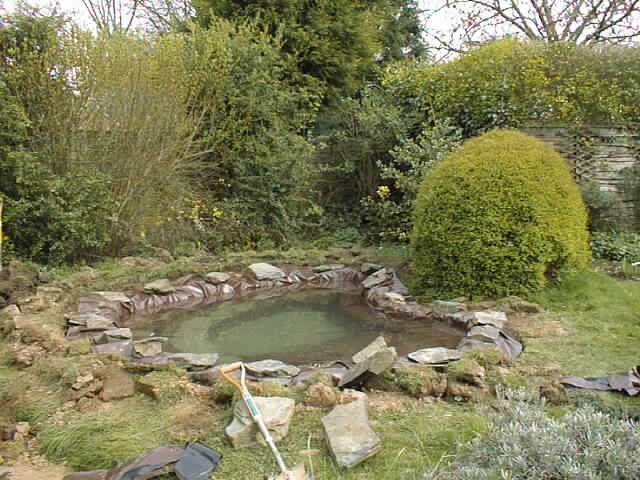
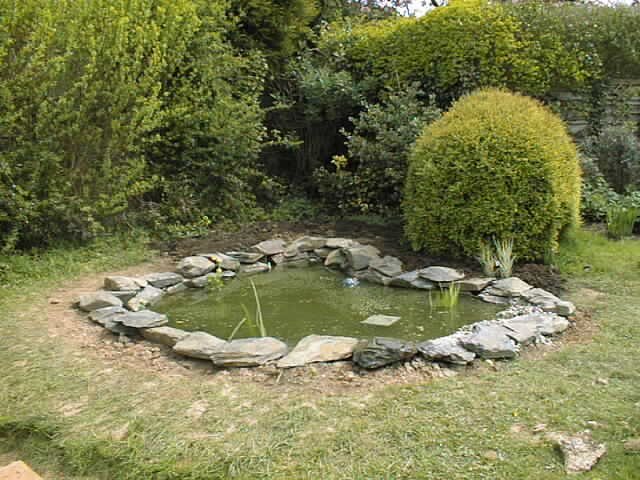
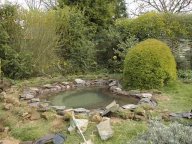
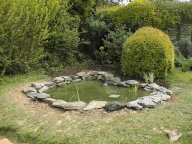
Here is the finished pond. Notice the fine pea green water. I resorted to an algae mat temporarily so as to stop the pond becoming pea soup but I am hoping that as the pond establishes this should no longer be necessary. The next step is to get an electrician out to wire in the pump and dig the flower beds all around the pond.
|
|
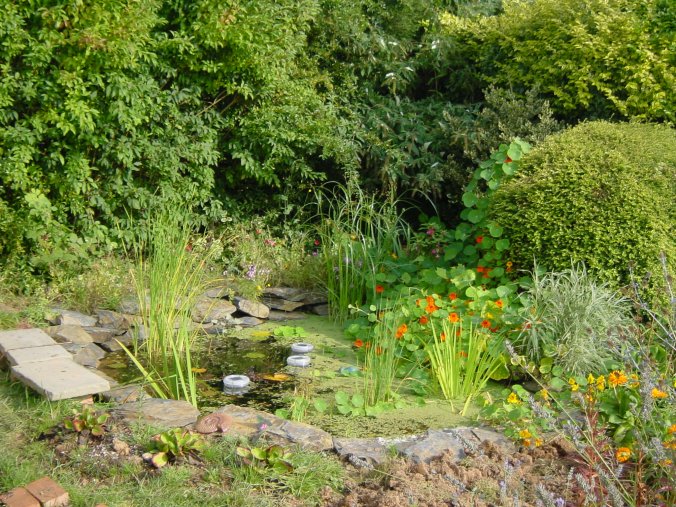
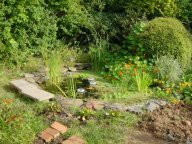
Here is the pond 4 months later in September - there is still a lot of work to do on the Flower beds around the pond but it looks really good considering the hold was only completed a few months previously. The flower beds were finally completed in about November!
|
|
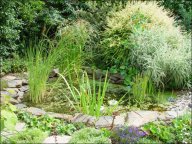
And finally the pond in August 2002 - 15 months after completion.
|